Design structures with precise dimensions and spacing. Use the building generator or build from scratch, create custom parts with solid modelling tools, and prepare drawings and material lists. Export custom parts for 3D printing.
From garage dimensions to a project you can present
Follow the garage above through 7 steps in Autostrek. Build the model, review materials, prepare drawings and a booklet, then visualize the finished garage.
The example projectA double garage with a pitched roof
Step 1 of 7
Set the garage dimensions
Choose Double Garage on the start screen. Enter the width, length, wall height and roof angle for your project, then choose the roof type and structure.
You can also start from scratch with Build Generator, or create the entire model manually, part by part.
Choose a starter and adjust its dimensions
Use Advanced to review the construction settings
What you get
The starting dimensions and framing settings for your garage.
Double Garage starter: 6,200 × 7,200 mm, 2,400 mm walls and a 28° roof.View full size
Step 2 of 7
Generate and inspect the frame
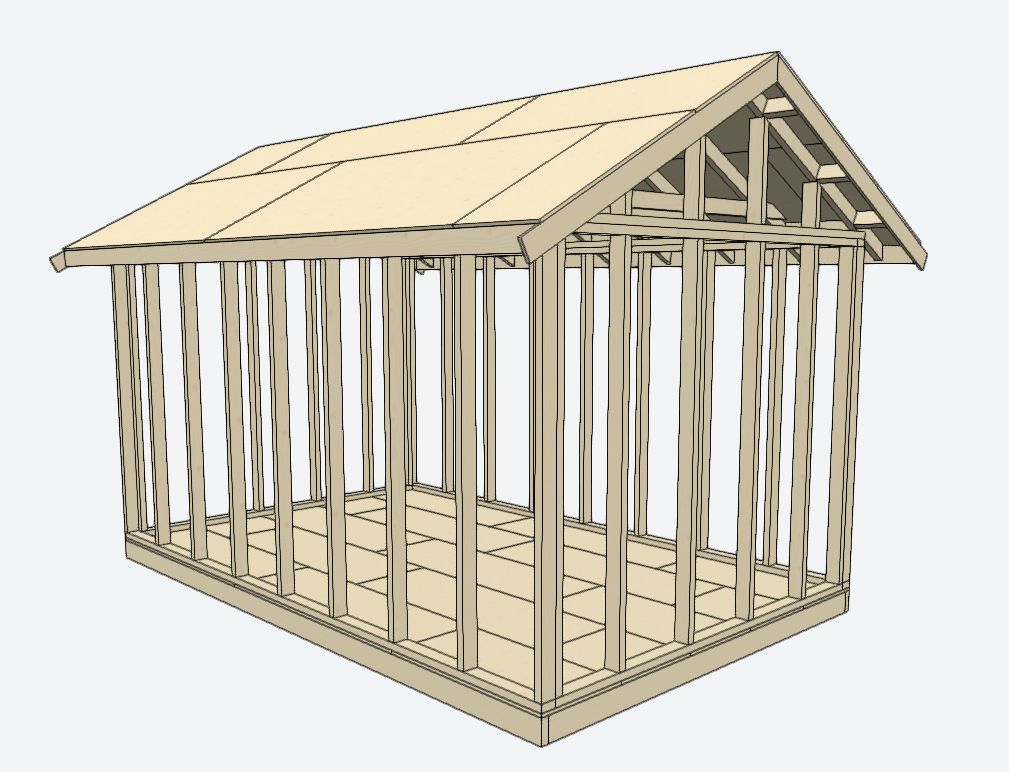
Autostrek generates the building as individual model parts. Orbit around the garage, inspect the floor, wall and roof groups, and measure the members you want to check.
Inspect individual parts and object groups
Edit and measure the generated structure
What you get
An editable 3D building model you can inspect from every side.
Select a wall in Opening Framer. Choose a door, garage door or window preset, then adjust its size and position using the reference guides. Cut the opening and inspect the surrounding framing.
Place the opening using dimensions and reference guides
Inspect the opening and the framing around it
What you get
An opening positioned in the wall, with its framing available to inspect.
Positioning a 900 × 2,100 mm door using the opening presets and dimension guides.View full size
Step 4 of 7
Review the timber and quantities
Open the material and cut lists for the garage. Check member lengths and quantities, then apply supplier products and prices if you want a material cost estimate.
Inspect lengths, quantities and purchasing units
Review product matches and any manual additions
What you get
Material quantities and cutting information for the model.
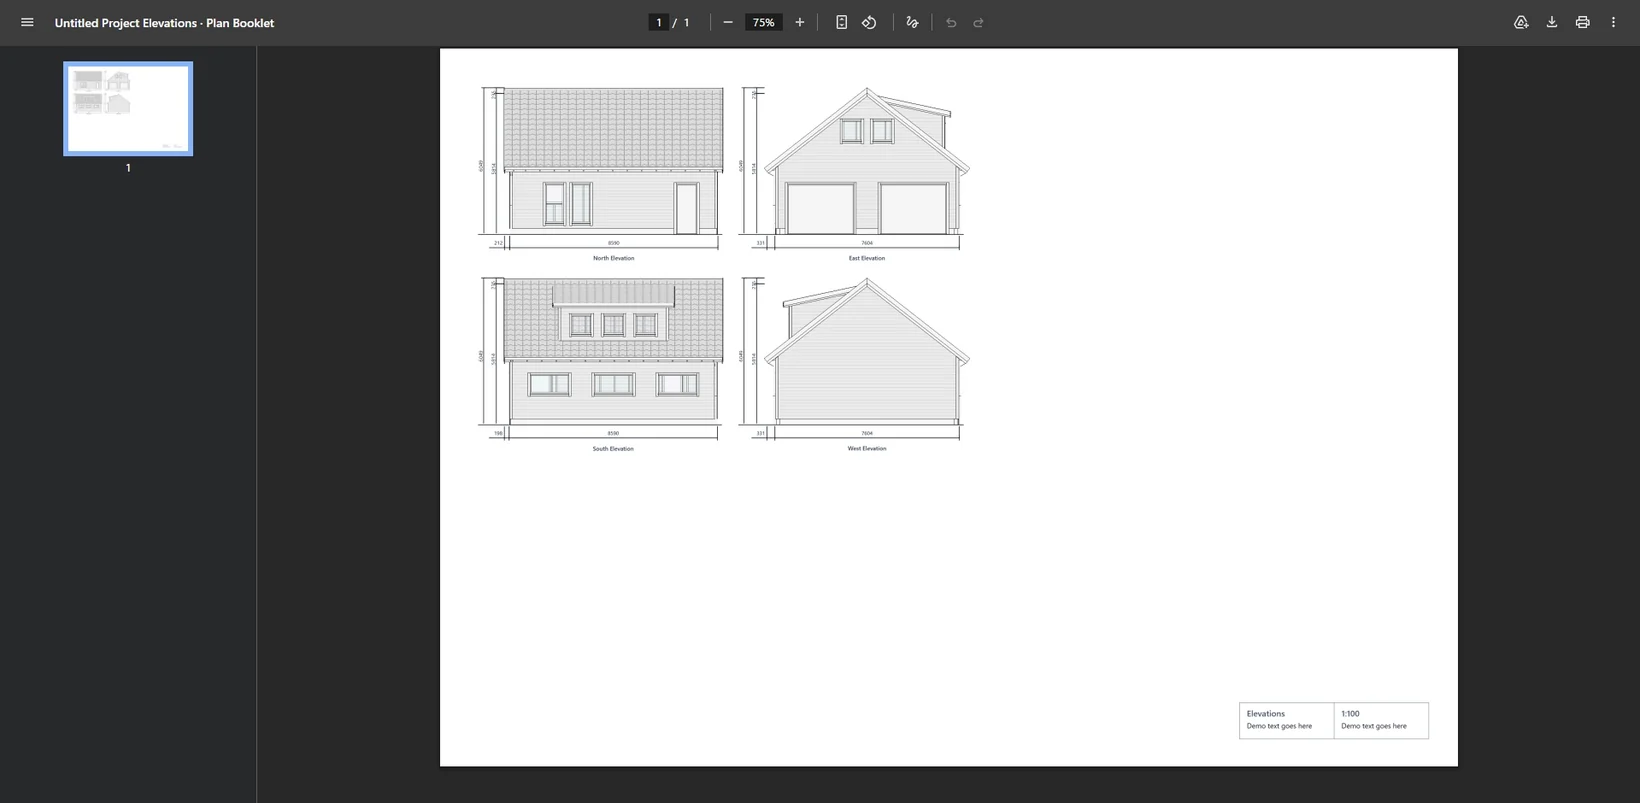
Four dimensioned garage elevations in Quad View, ready to export.View full size
Step 6 of 7
Assemble the garage booklet
Add the garage overview, framing views and build stages to Project Planner. Arrange the pages, add dimensions and notes, then export a PDF with a cover and optional material lists.
Choose and arrange the views for each page
Add notes, a cover and optional material or cut lists
What you get
A PDF booklet containing the views and information you selected.
Arrange booklet pages in Project Planner, with framing views, highlighted parts and dimension callouts.View full size
Step 7 of 7
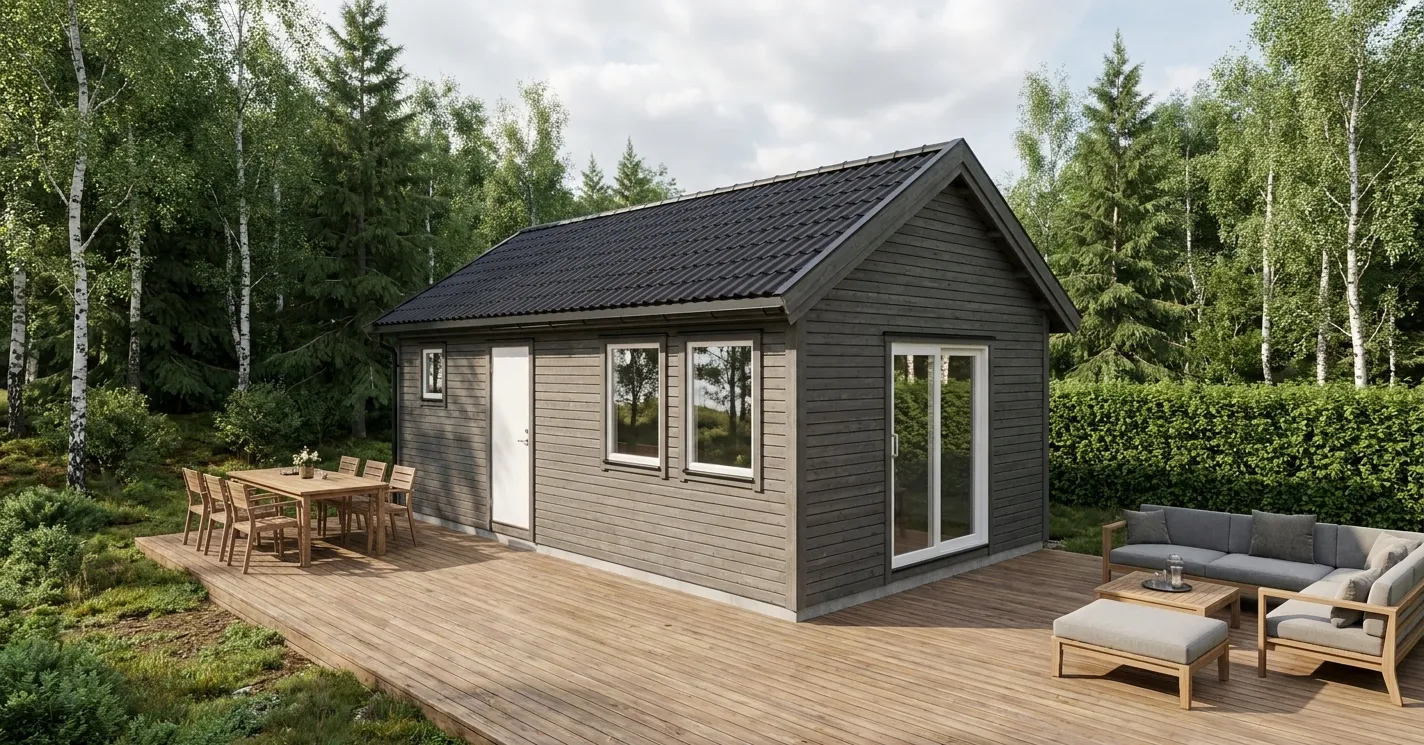
Show how the garage could look
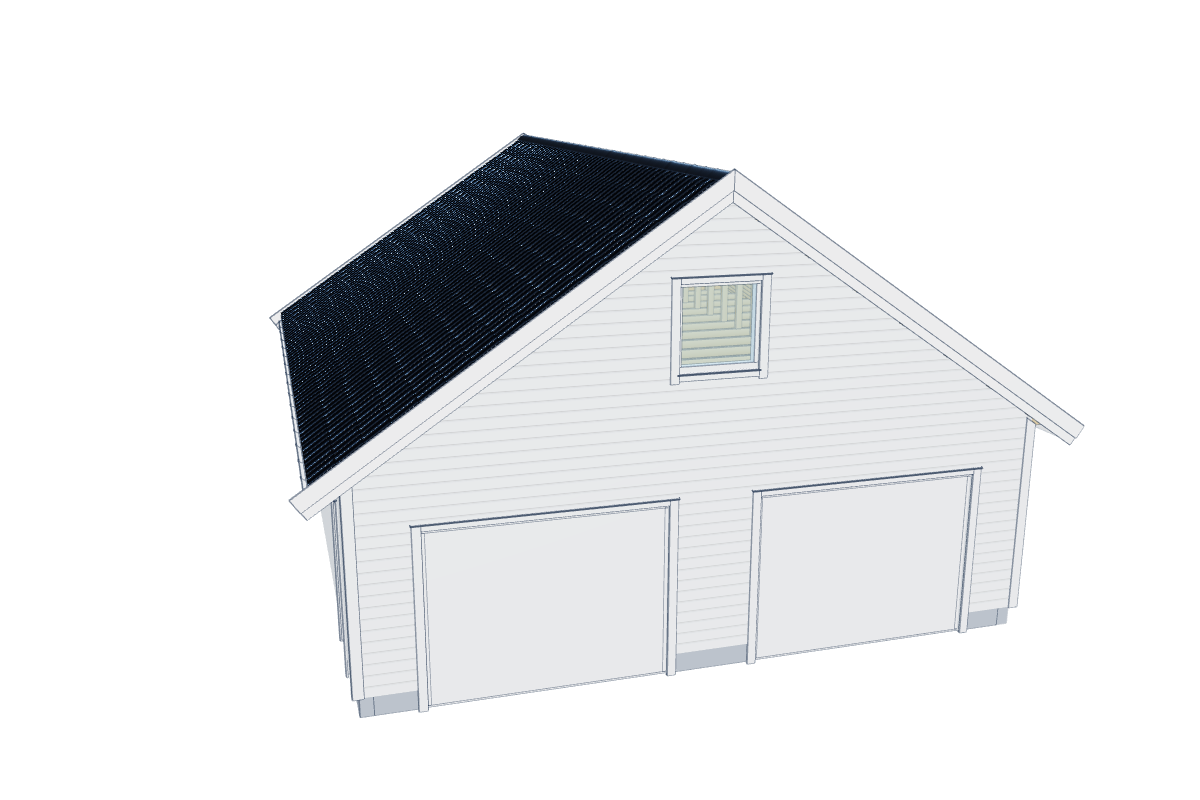
Open a view of your garage in AI Render. Describe the cladding, colours, surroundings and lighting, then generate a presentation image from the model. Explore different finishes and help a customer picture the completed building.
Guide the materials and setting with a written prompt
Download the image or use it as a booklet cover
What you get
A rendered view of your design to share with a customer or include in a presentation.
Preparing this garage for a customer?Continue with quote items and a PDF proposal.
Use the same garage model to explain the work you are quoting. You enter and check the quote quantities and prices; they are separate from the model’s material list.
1Enter the scope and prices
Add your company and customer details. Enter the garage materials, labour and other agreed work as quote lines, with quantities, units and prices. Review the totals and VAT.
Place a garage view, your logo, the item table, notes and totals on A4 pages. Export the quote as a PDF so the customer can review the design alongside your scope and price.
Quote page designerDouble garage
Quote page designer
A PDF proposal with your branding, model views and quote.
Made with Custom SolidDrag to rotate the model. On a touch screen, swipe sideways to rotate and vertically to scroll the page. Use the arrow keys to rotate, or Home to reset the view.
Model the parts you need
Start with a sketch and turn it into a precise 3D part. Extrude, revolve, sweep and loft, then refine holes, curves and edges.
Powered by Open Cascade, with actual-size 3MF export for 3D printing.
Bring your project views, build stages, dimensions and notes together in Project Planner. Add a cover and optional material and cut lists, then export a PDF ready to share.
Build-sequence pages, notes and callouts
Cover images and optional material sections
Branding options for a professional presentation
Explore PDF bookletsStandard booklets support up to 10 pages. Premium branding supports up to 40 pages and can use credits; check the export options for your plan.
Project PlannerPDF BOOKLET
02 / THE STRUCTURE
Views. Dimensions. Details.
PROJECT / 001Cabin project Drawing booklet
Project views · build stages · materials
Illustrative booklet layout · created for this preview
03 / AUTOSTREK OUTPUTSMake your next proposal count
Prepare a customer quote as a PDF
Add your company logo, customer details and the quote items you have priced. Arrange model views, tables, notes and totals on A4 pages, then export your quote as a PDF.
Company logo and customer information
Editable quantities, prices, currency and VAT
Custom page layouts with model views and images
Explore Quote BuilderYou control the quote entries. Review quantities and prices against your model before sending.
Quote BuilderA4 / PDF
YOUR BUILDING COMPANY
PROJECT PROPOSALQ–001
PREPARED FOR / EXAMPLE CLIENT
Garden cabin Proposal
Garden cabin · project estimate
Illustrative quote in Norwegian kroner
Description
Amount (NOK)
Timber and framing
48 600
Roof and exterior
8 900
Assembly and finishing
12 400
Subtotal
69 900
VAT · 25%
17 475
Total · NOK
87 375
Example scope and pricing for customer review.
Illustrative quote · example amounts, not a building price
Watch Autostrek in action
Start with the beginner tutorial, then see how a timber model assembles in the build timeline.
Set out the building in 3D, check its dimensions and review the timber quantities before you order. Prepare drawings and build-stage pages to refer to as the project develops.
Show customers the proposed building, review material costs and prepare a quote with your company details. Present the scope, model views and price in a PDF they can review.
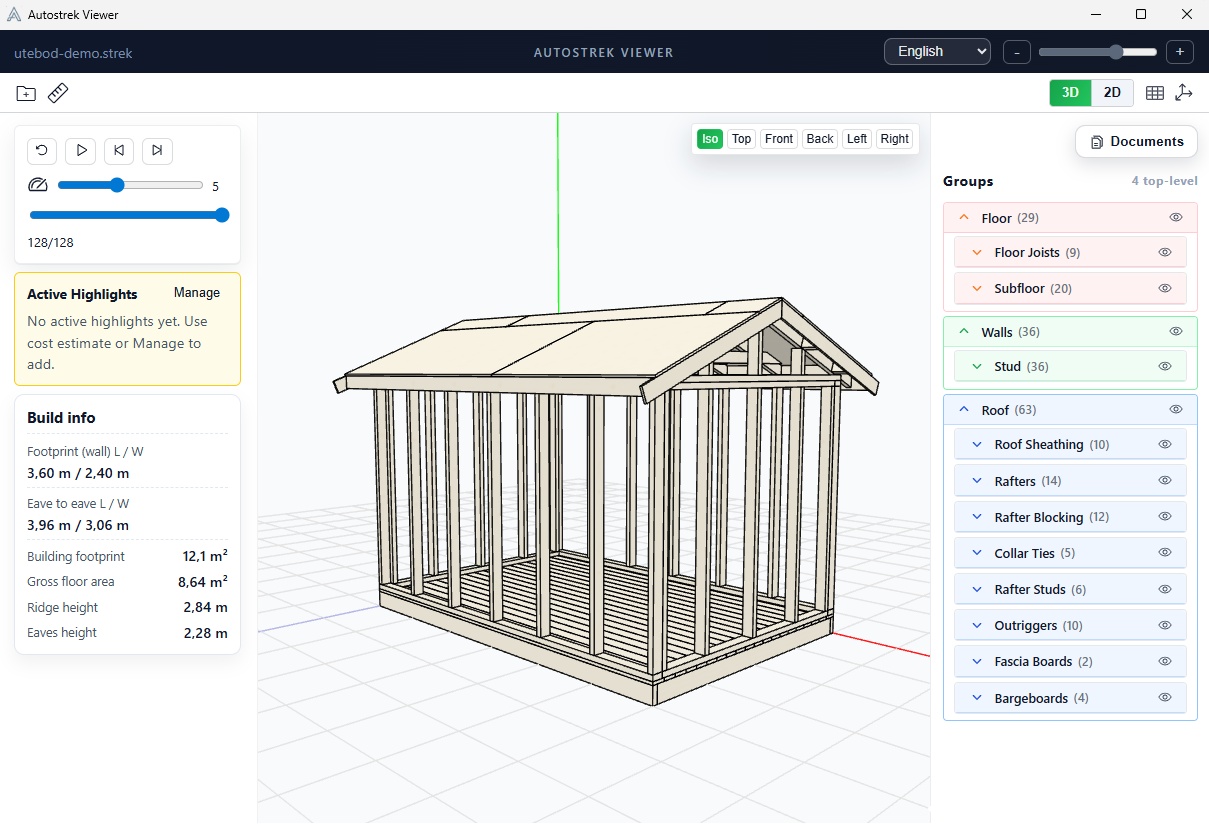
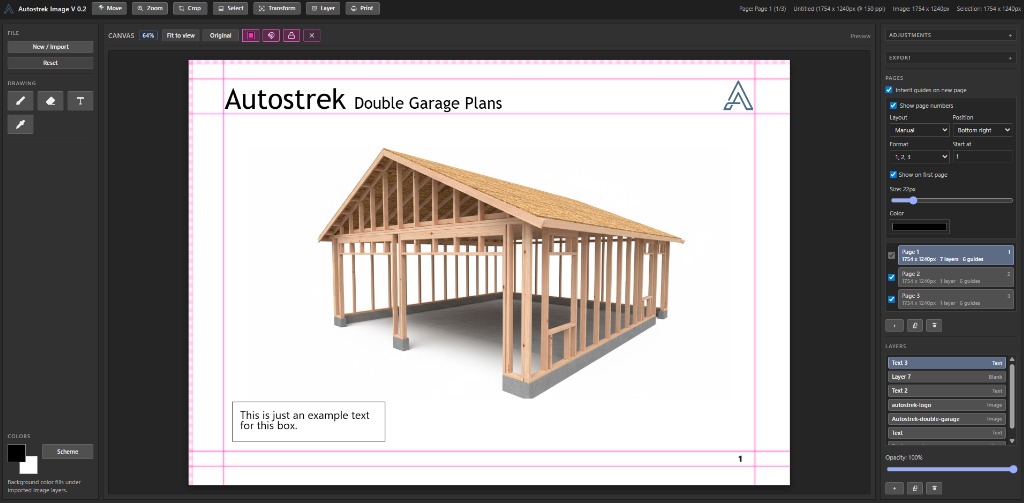
Use Viewer to inspect shared models and Image to edit pictures and arrange presentation pages. These Windows companion apps are included with an active Autostrek plan.
Cadivari is a separate Windows app for designing and machining parts. Draw a 2D sketch, create an editable 3D solid, then prepare CNC toolpaths or a file for 3D printing.